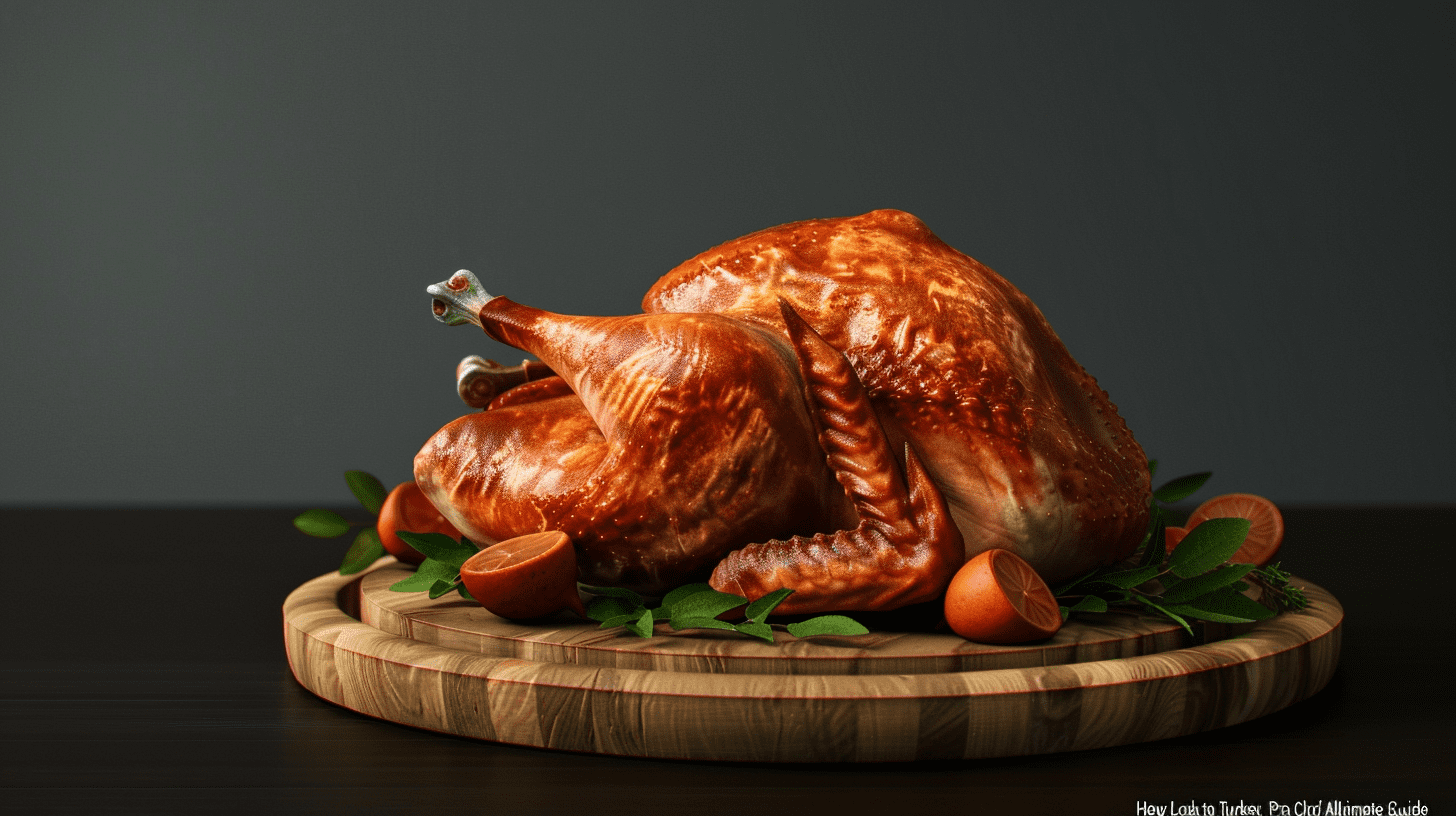
How Long to Cook a Turkey: Pro Chef Altimate Guide
Welcome to your ultimate guide on how to cook a turkey, a centerpiece at many gatherings, especially during the holidays. As a professional chef with over a decade of experience in the culinary world, I understand the importance of getting that turkey just right – beautifully golden on the outside, moist and flavorful on the inside. It can seem daunting, especially if it’s your first time or if past attempts haven’t gone as planned. But fear not! This guide is designed to demystify the process, making it accessible and successful for chefs of all levels.
Cooking a turkey is much more than just sticking it in the oven for a few hours. It’s about understanding the nuances that affect cooking time and temperature. These nuances include the size of the bird, whether it’s stuffed, the type of oven you’re using, and even the altitude at which you’re cooking. Getting it right means ensuring not just a delicious meal, but also the safety of your guests, as properly cooked poultry is paramount to avoid foodborne illnesses.
In this full guide, we’ll help you choose the right turkey, prepare it for the oven, calculate cooking time, and check doneness. We’ll also cover some troubleshooting tips for common issues, so you can avoid or fix them should they arise. Plus, I’ll share some of my favorite chef’s tips and tricks to elevate your turkey from good to great.
Whether you’re a first-timer or looking to perfect your turkey game, this guide is for you. So, let’s roll up our sleeves, gather our ingredients and tools, and get ready to roast the perfect turkey that’ll have your guests talking until the next holiday season.
Preparing Your Turkey
The journey to a perfectly roasted turkey starts with proper preparation. This stage is crucial for flavor development and ensuring your turkey cooks evenly. Let’s break down the steps.
Selecting the Right Turkey
Size Matters: The size of your turkey will directly influence your cooking time. A good rule of thumb is to plan for about 1 to 1.5 pounds of turkey per person. This ensures enough for the meal and some delightful leftovers.
- Small (10-12 pounds): Serves 5-7 people
- Medium (15-18 pounds): Serves 10-12 people
- Large (20-24 pounds): Serves 15-20 people
Fresh vs. Frozen: A fresh turkey is always preferable for flavor and texture. However, if a frozen turkey is your only option, factor in thawing time, which can take several days in the refrigerator.
Thawing Your Turkey
Thawing a frozen turkey is a step you cannot rush. The safest method is in the refrigerator, allowing 24 hours for every 4-5 pounds of turkey.
| Turkey Weight | Thawing Time in Refrigerator |
|---|---|
| 10-12 lbs | 2-3 days |
| 15-18 lbs | 3-4 days |
| 20-24 lbs | 4-5 days |
To Brine or Not to Brine
Brining — soaking your turkey in a solution of water and salt, sometimes with herbs and spices — can enhance juiciness and flavor. If you have the time, it’s worth the effort.
- Wet Brine: Submerge your turkey in a saltwater solution for up to 24 hours before cooking. Ensure the turkey is fully covered.
- Dry Brine: Rub salt, possibly mixed with herbs and spices, all over the turkey’s skin and let it sit in the refrigerator for 1-2 days.
Tools and Equipment Needed
A few key tools will make your turkey roasting smoother and more successful:
- Roasting Pan: Large enough to accommodate your turkey without crowding.
- Meat Thermometer: Essential for ensuring your turkey is cooked safely and perfectly.
- Kitchen Twine: For trussing your turkey, which helps it cook evenly.
Understanding Turkey Size and Weight
The size of your turkey determines not just the amount of food you’ll have but also how long you’ll need to cook it. Here’s a quick reference for stuffed vs. unstuffed turkeys.
| Turkey Size | Unstuffed Cooking Time | Stuffed Cooking Time |
|---|---|---|
| 10-12 lbs | 3-3.5 hours | 3.5-4 hours |
| 15-18 lbs | 3.5-4 hours | 4-4.5 hours |
| 20-24 lbs | 4.5-5 hours | 5-5.5 hours |
The Role of Oven Temperature
A consistent oven temperature is key to cooking your turkey evenly.
- Preheat: Always start with a preheated oven at 325°F (165°C). This is the optimal temperature for cooking turkey, balancing crispy skin with juicy meat.
In the next sections, we’ll cover the step-by-step cooking instructions, including how to properly season your bird, the best way to lay it in the pan, and how often to baste. Stay tuned as we guide you through each step, ensuring your turkey is the star of the show.

Tools and Equipment Needed
Roasting Pan Essentials:
- Roasting Pan: A sturdy, heavy-duty roasting pan that’s large enough to accommodate your turkey without touching the sides is crucial. It should also have a rack to elevate the turkey, ensuring even heat circulation and a crispier skin.
- Basting Brush: If you choose to baste your turkey, a high-quality basting brush will help you evenly distribute juices or butter over the turkey.
- Aluminum Foil: Useful for tenting your turkey to prevent over-browning and for covering leftovers.
Meat Thermometers: Ensuring Accuracy:
- Instant-Read Thermometer: This type of thermometer provides quick, accurate readings, making it essential for checking the turkey’s internal temperature.
- Leave-In Oven Thermometer: A leave-in thermometer can stay in your turkey throughout the cooking process, allowing you to monitor the temperature without opening the oven and releasing heat.
Kitchen Timers and Other Helpful Gadgets:
- Kitchen Timer: A reliable timer is indispensable for tracking cooking and resting times. Choose one with a clear display and loud alarm.
- Carving Set: A sharp carving knife and fork are essential for neatly carving your turkey and presenting it beautifully on the table.
- Fat Separator: If you’re making gravy from the pan drippings, a fat separator can help you easily remove fat for a smoother, healthier gravy.
With these tools and equipment at your side, you’re well-equipped to tackle the task of cooking a turkey. Each item has been selected not only for its functionality but also for its ability to make the cooking process more enjoyable and stress-free.
In the next sections, we’ll explore the intricacies of understanding turkey size and weight, the role of oven temperature, and step-by-step cooking instructions. Stay tuned as we continue to build your confidence in roasting the perfect turkey.
Understanding Turkey Size and Weight
The size and weight of your turkey are not just numbers; they’re crucial factors that dictate how long your bird needs to cook. Here’s why understanding this is vital:
Impact on Cooking Time: The larger your turkey, the longer it will take to cook through. This seems straightforward, but remember that cooking is not linear. As the size increases, you need to adjust not just for the total cooking time but also for how the turkey cooks internally and externally.
Stuffed vs. Unstuffed: Deciding whether to stuff your turkey also affects cooking time. Stuffed turkeys take longer to cook because the stuffing inside must reach a safe temperature, adding extra cooking time.
To ensure you’re fully equipped, let’s break down the cooking times based on turkey size and whether it’s stuffed or unstuffed. This table provides a general guideline to help you plan your cooking schedule:
| Turkey Weight | Unstuffed Cooking Time (Hours) | Stuffed Cooking Time (Hours) |
|---|---|---|
| 10-14 lbs | 3 to 3¾ | 3½ to 4 |
| 15-18 lbs | 3¾ to 4½ | 4 to 4½ |
| 19-22 lbs | 4½ to 5 | 4½ to 5 |
| 23-26 lbs | 5 to 5½ | 5½ to 6 |
| 27-30 lbs | 5½ to 6¼ | 6¼ to 6¾ |
Note: These times are for a preheated oven at 325°F (165°C). Always use a meat thermometer to ensure the turkey reaches a safe internal temperature of 165°F (74°C) in the thickest part of the thigh, avoiding the bone.
The Role of Oven Temperature
Oven temperature plays a pivotal role in cooking your turkey perfectly. Here’s what you need to know:
- Consistent Heat: An oven set to 325°F (165°C) provides a steady, moderate heat that cooks the turkey evenly, ensuring the meat is juicy and the skin turns golden brown.
- Preheating: Always preheat your oven. Putting your turkey into a cold oven will throw off cooking times and could result in uneven cooking.
- Conventional vs. Convection: If you’re using a convection oven, you may need to reduce the cooking temperature by 25°F (about 4°C) or shorten the cooking time, as convection ovens circulate hot air around the food more efficiently.
By understanding these aspects, you’re better prepared to roast your turkey to perfection. Next, we’ll move on to detailed step-by-step cooking instructions that will guide you through the entire process, from prepping your bird to carving it for your guests. Stay tuned as we continue to navigate the journey of roasting the ideal turkey.
Step-by-Step Cooking Instructions
Now that we’ve covered the preliminaries, let’s dive into the meat of the matter—roasting your turkey. Follow these detailed steps to ensure a perfectly cooked bird that’s sure to impress.
1. Prepping the Turkey for the Oven
- Let it Rest: Before cooking, let your turkey sit at room temperature for about an hour. This step helps in cooking the turkey more evenly.
- Preheat the Oven: Set your oven to 325°F (165°C) for a steady, gentle roast.
- Prepare the Roasting Pan: Place a rack in your roasting pan. This allows hot air to circulate around the turkey, cooking it evenly. If you don’t have a rack, create a makeshift one with coiled aluminum foil.
- Season Inside and Out: Season the cavity of the turkey with salt and pepper. You can also add aromatics like onion, garlic, lemon, and herbs for additional flavor. Rub the outside of the turkey with butter or oil, and season with salt, pepper, and any other desired seasonings.
- Tie the Legs: Use kitchen twine to tie the turkey’s legs together. This helps the turkey maintain its shape and cook evenly. Tuck the wing tips under the body to prevent them from burning.
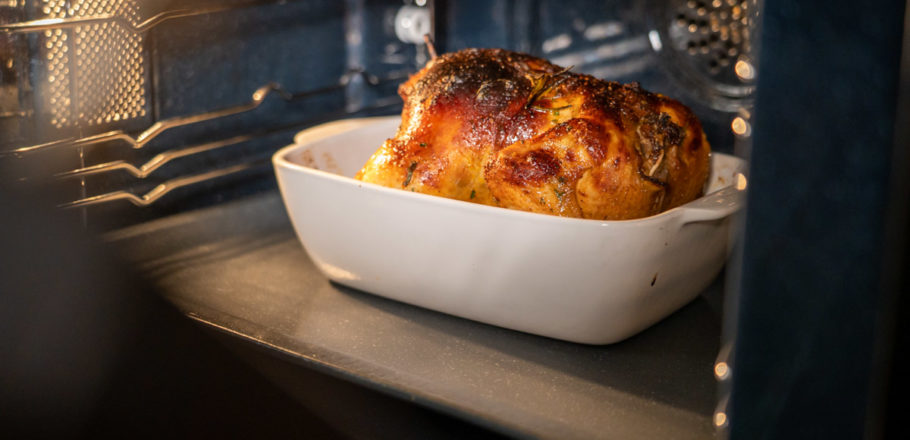
2. Roasting the Turkey
- Position the Turkey: Place the turkey breast-side up on the rack in your roasting pan. Starting with the breast-side up ensures the juiciest meat.
- Insert the Thermometer: Place a meat thermometer into the thickest part of the thigh, avoiding the bone. This will be your most accurate guide to doneness.
- Cover with Foil: To prevent excessive browning, you can loosely cover the turkey with aluminum foil. Remove the foil in the last hour of cooking to allow the skin to become golden and crispy.
- Roasting Time: Refer to the cooking time table provided in the previous section. Remember, these times are approximate. Your thermometer is the best indicator of doneness.
- Basting (Optional): If desired, baste the turkey every 45 minutes with its juices or a mixture of butter and wine. However, each time you open the oven, you’re letting heat escape, which can extend the cooking time.
3. Checking for Doneness
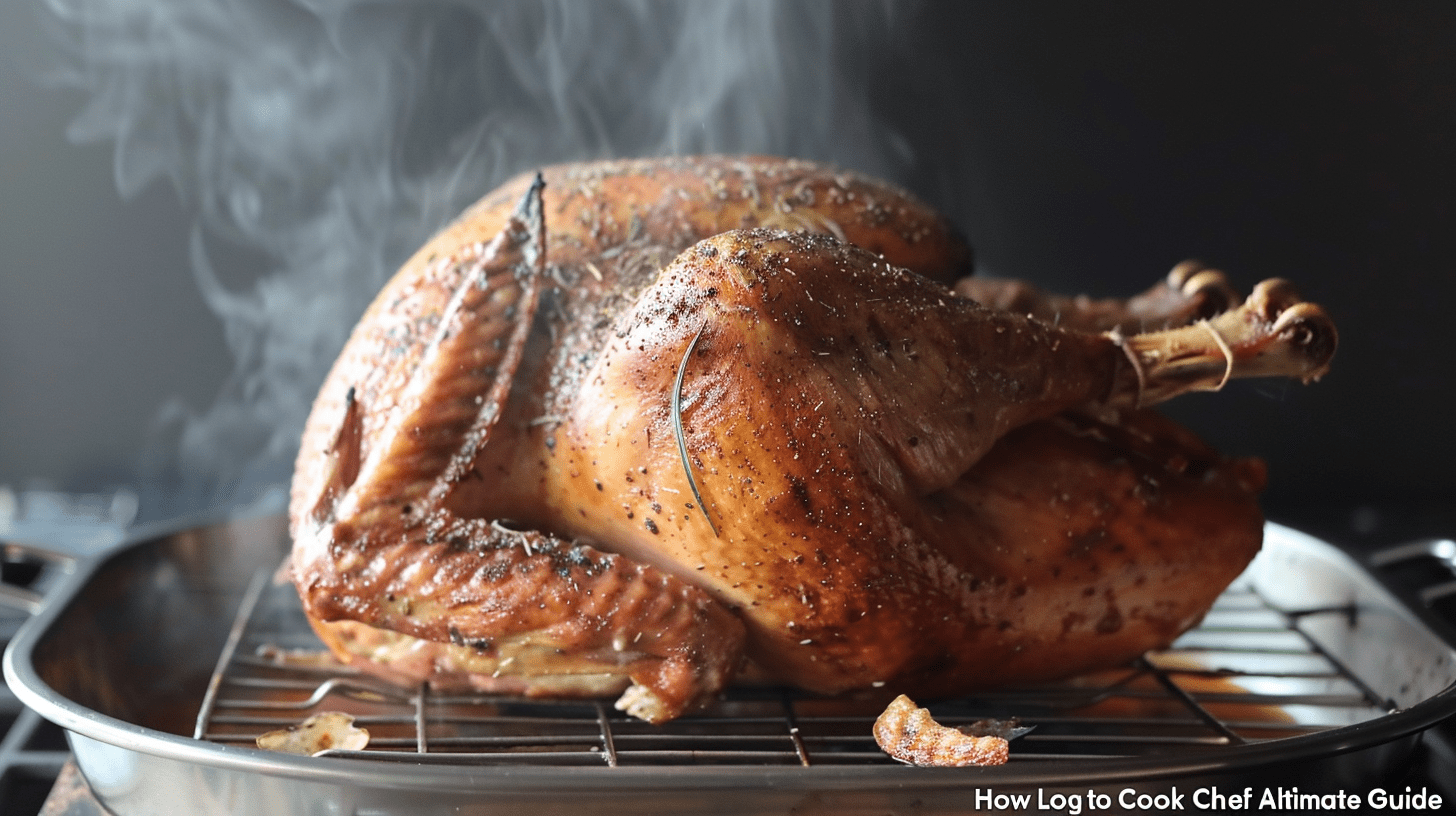
- Internal Temperature Check: Your turkey is done when the meat thermometer reads 165°F (74°C) in the thigh. Check the thickest part of the breast as well to ensure it’s cooked through.
- Visual Cues: The skin should be golden brown, and the juices should run clear when you pierce the thigh with a knife.
- Let it Rest: Before carving, let the turkey rest covered with foil for at least 20 minutes. This allows the juices to redistribute, ensuring moist, flavorful meat.
Carving Your Turkey
- Remove the Twine: Cut away the twine that’s tying the legs.
- Separate the Legs and Thighs: Cut through the joint that connects the legs to the body.
- Remove the Breasts: Slice along the breastbone, then carve the breast meat across the grain into slices.
- Separate the Wings: Cut through the joints to remove the wings.
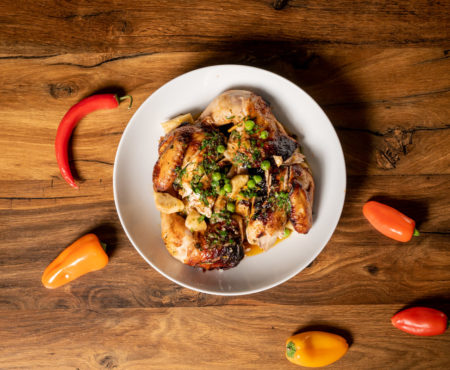
- Carve and Serve: Arrange the carved turkey on a platter, garnish as desired, and serve to your eagerly waiting guests.
Conclusion
Roasting a turkey doesn’t have to be a daunting task. With the right preparation, tools, and understanding of cooking times and temperatures, you can present a beautifully roasted turkey as the centerpiece of your meal. Remember, patience and attention to detail are your best tools in the kitchen. Whether this is your first turkey or you’re an experienced cook looking to perfect your method, this guide is designed to help you achieve the best results. Enjoy the process and the delicious outcomes!
Testing for Doneness
Ensuring your turkey is cooked to perfection involves more than just timing. Here’s how to accurately gauge when your bird is ready to be the centerpiece of your dinner table.
How to Properly Use a Meat Thermometer
To avoid the pitfalls of under or overcooking your turkey, a meat thermometer is your best ally. Here’s how to use it effectively:
- Choosing a Thermometer: An instant-read digital thermometer offers the most accurate and quick reading.
- Correct Placement: Insert the thermometer into the thickest part of the turkey’s thigh, avoiding bone and fat, as these can give misleading readings. The thigh is the last part of the turkey to finish cooking, making it the best indicator of overall doneness.
- Reading the Temperature: Wait a few seconds for the thermometer to give a final reading. If it reads 165°F (74°C), your turkey is safely cooked.
| Part of Turkey | Target Temperature |
|---|---|
| Thigh | 165°F (74°C) |
| Breast | 165°F (74°C) |
| Stuffing (if applicable) | 165°F (74°C) |
Remember, even after you remove the turkey from the oven, its internal temperature can continue to rise by about 5-10 degrees due to residual heat, a phenomenon known as carryover cooking.
What Internal Temperature You’re Aiming For
The USDA recommends an internal temperature of 165°F (74°C) for turkey, measured in the thigh. This ensures the turkey is safe to eat, eliminating bacteria such as Salmonella and Campylobacter.
Signs Your Turkey Is Perfectly Cooked
Alongside the thermometer, there are visual cues that your turkey is ready:
- Juices Run Clear: Pierce the thigh with a knife; clear juices (not pink) indicate doneness.
- Golden Brown Skin: A perfectly cooked turkey boasts a uniformly golden-brown skin.
- Firm Flesh: The meat should feel firm, and the legs should wiggle easily at the joints, indicating the connective tissues have broken down.
Testing for doneness is a crucial step in the turkey roasting process, ensuring not just the safety of the meal but also its flavor and texture. By mastering the use of a meat thermometer and learning to recognize the signs of a perfectly cooked turkey, you can confidently present a delicious, juicy bird to your guests. Next, we’ll explore the importance of resting your turkey before carving, a step that’s essential for locking in those flavorful juices.
Resting Before Carving
After your turkey has reached the perfect internal temperature, the next crucial step before carving is to let it rest. This isn’t just a trivial pause in the cooking process; it’s a key component in ensuring your turkey is as juicy and flavorful as possible.
Why Resting Is Crucial for Juiciness
- Juice Redistribution: When a turkey is cooked, the heat causes its juices to move towards the surface. Resting allows these juices to redistribute throughout the meat, ensuring each slice is moist.
- Continued Cooking: Known as carryover cooking, the turkey’s internal temperature can continue to rise slightly during the resting period. This helps to ensure that your turkey is thoroughly cooked without being exposed to direct heat, which could dry it out.
Optimal Resting Time
The optimal resting time for a turkey depends on its size, but here are general guidelines to ensure maximum juiciness:
| Turkey Weight | Recommended Resting Time |
|---|---|
| 10-12 lbs | 20 minutes |
| 15-18 lbs | 30 minutes |
| 20-24 lbs | 40 minutes |
During this time, loosely cover the turkey with aluminum foil to keep it warm. The foil tent helps to retain heat without cooking the turkey further, which is essential for maintaining the perfect texture and moisture level.
How to Properly Tent Your Turkey
- Remove the Turkey from the Oven: Carefully transfer your turkey from the roasting pan to a cutting board.
- Prepare the Foil: Tear off a large piece of aluminum foil.
- Tent the Turkey: Drape the foil over the turkey without sealing it tightly. The goal is to trap enough heat to keep the turkey warm while allowing space for steam to escape, preventing condensation from making the skin soggy.
Allowing your turkey to rest properly is a step you don’t want to skip. Not only does it ensure that your turkey will be deliciously moist, but it also makes carving easier, as the meat is firmer and more set. After the recommended resting time, you’ll be ready to move on to carving your masterpiece, serving up a turkey that’s sure to impress all your guests with its incredible flavor and juiciness.
Carving Your Turkey
Carving the turkey is the final step in your journey of preparing the perfect holiday feast. It’s where all your hard work pays off, presenting the turkey in such a way that it looks as good as it tastes. Here’s how to carve your turkey like a pro, ensuring beautiful presentation and delicious slices.
Tools for the Task
- Sharp Carving Knife: A long, sharp knife is crucial for clean cuts.
- Carving Fork: Use this to steady the turkey while you cut.
- Cutting Board: Preferably one with grooves to catch any juices.
Step-by-Step Carving Guide
- Remove the Twine: If you’ve trussed your turkey, cut and remove the kitchen twine.
- Detach the Legs and Thighs: Start by cutting through the skin between the leg and the body. Push the leg outward to find the joint, and cut through it to separate the leg and thigh from the body. You can serve the legs whole or separate the thighs and drumsticks at the joint.
- Remove the Breasts: Make a deep cut along one side of the breastbone. Then, angle your knife horizontally and slice the breast meat away from the carcass in one large piece. Repeat on the other side. Once removed, slice the breast meat against the grain into individual portions.
- Detach the Wings: Cut through the joints where the wings attach to the body. The wings can be served whole or used to make stock.
- Slice and Serve: Arrange the turkey slices, legs, and wings on a serving platter. Garnish as desired.
Tips for a Perfect Carve
- Let the Turkey Rest: Always let your turkey rest before carving. This makes the meat firmer and easier to slice.
- Follow the Contours: Use the tip of your knife to gently follow the natural contours of the turkey. This helps in removing the meat cleanly and efficiently.
- Slice Against the Grain: Slicing the breast meat against the grain ensures that each piece is tender and easy to chew.
Carving your turkey correctly is the crowning moment of your culinary effort, showcasing the tender, juicy meat in all its glory. With these steps and tips, you’ll be able to carve your turkey with confidence and skill, impressing your guests and making your meal a memorable one. Enjoy the fruits of your labor and the smiles of your satisfied diners.