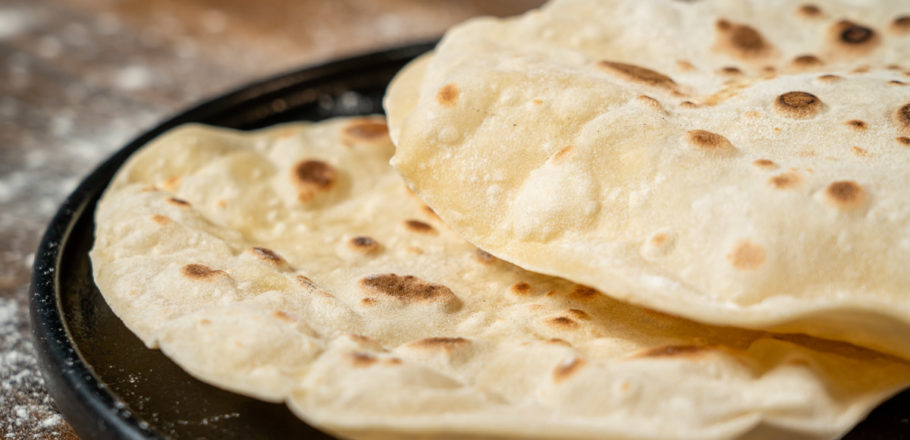
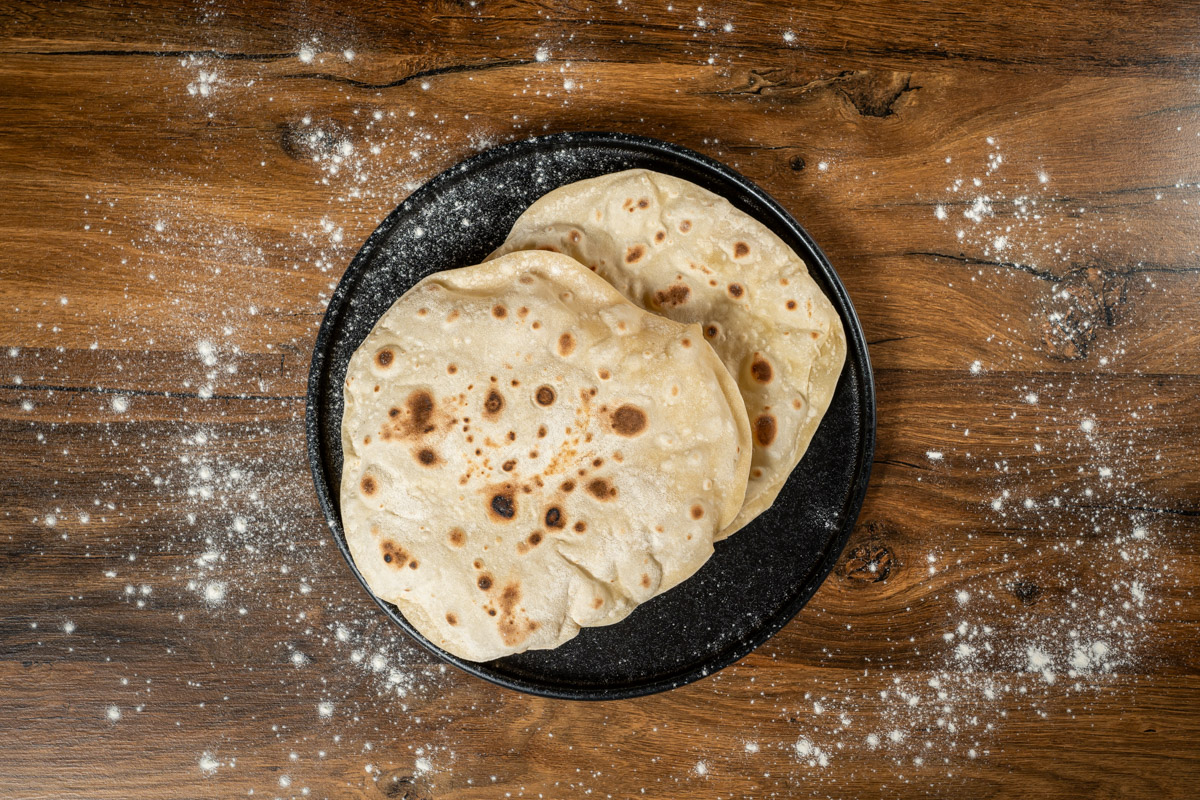
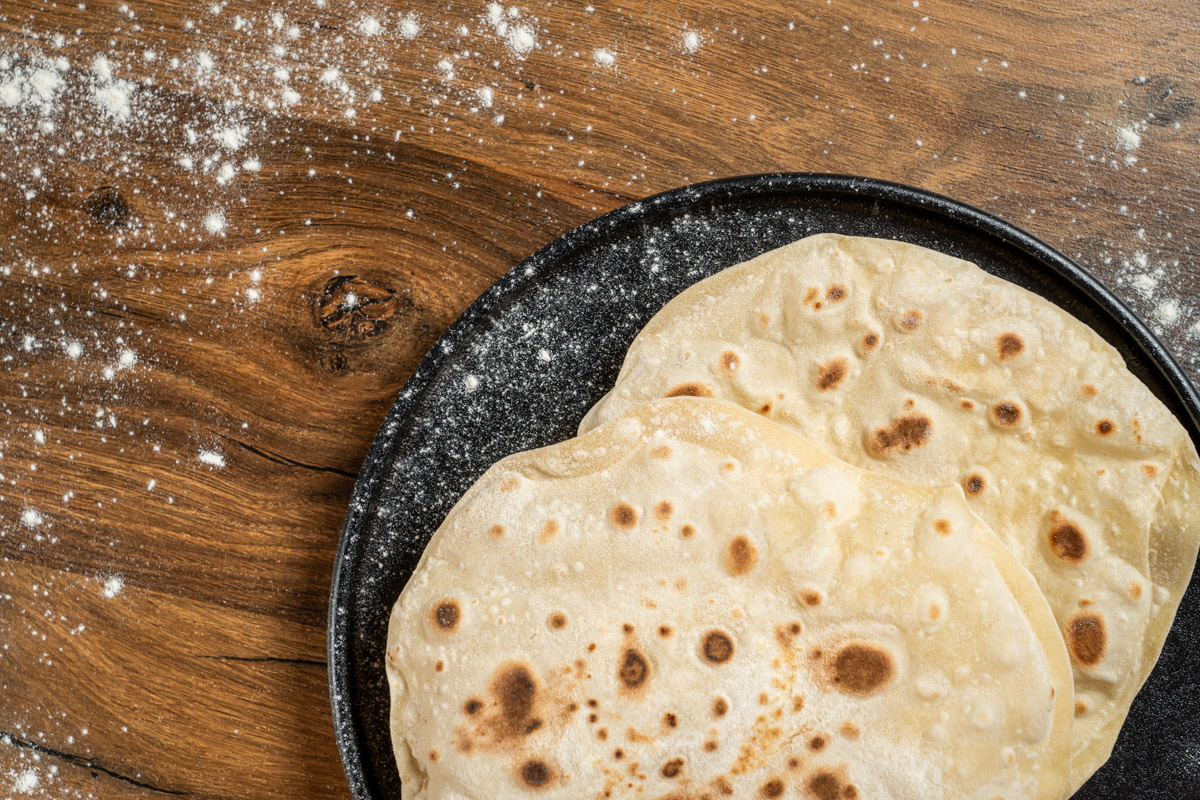
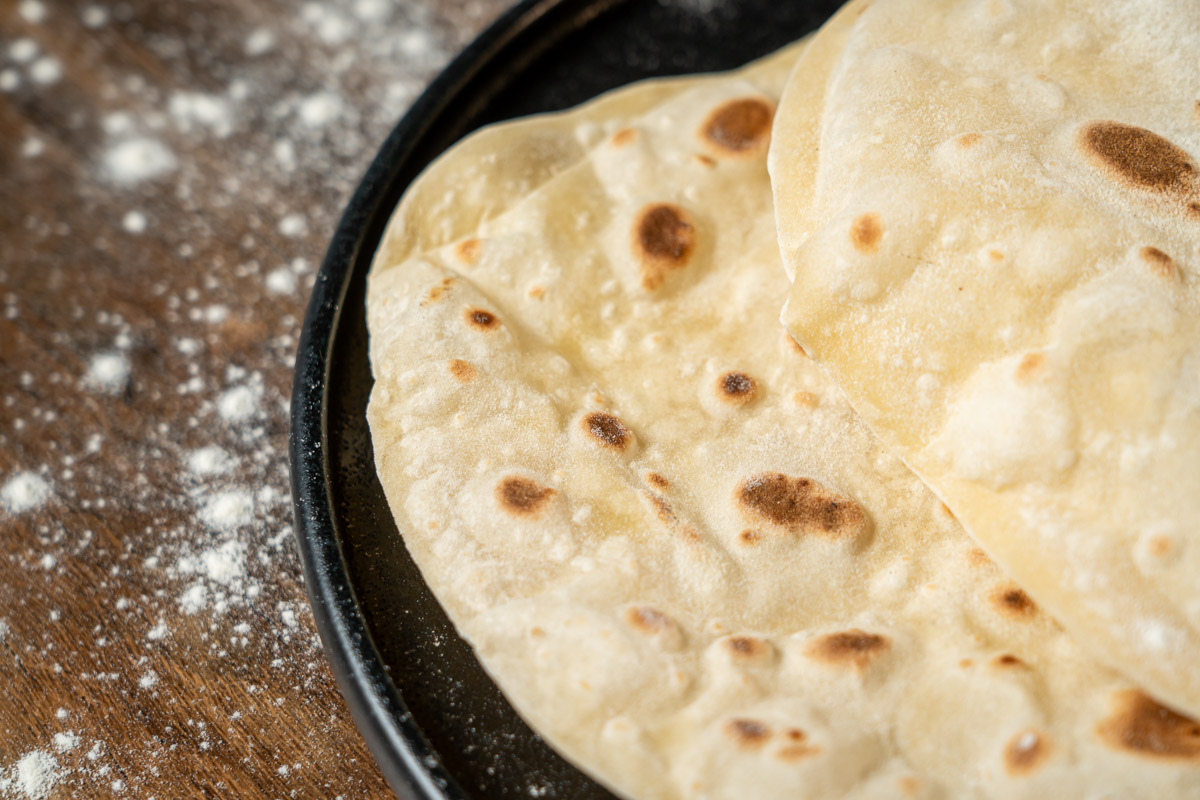
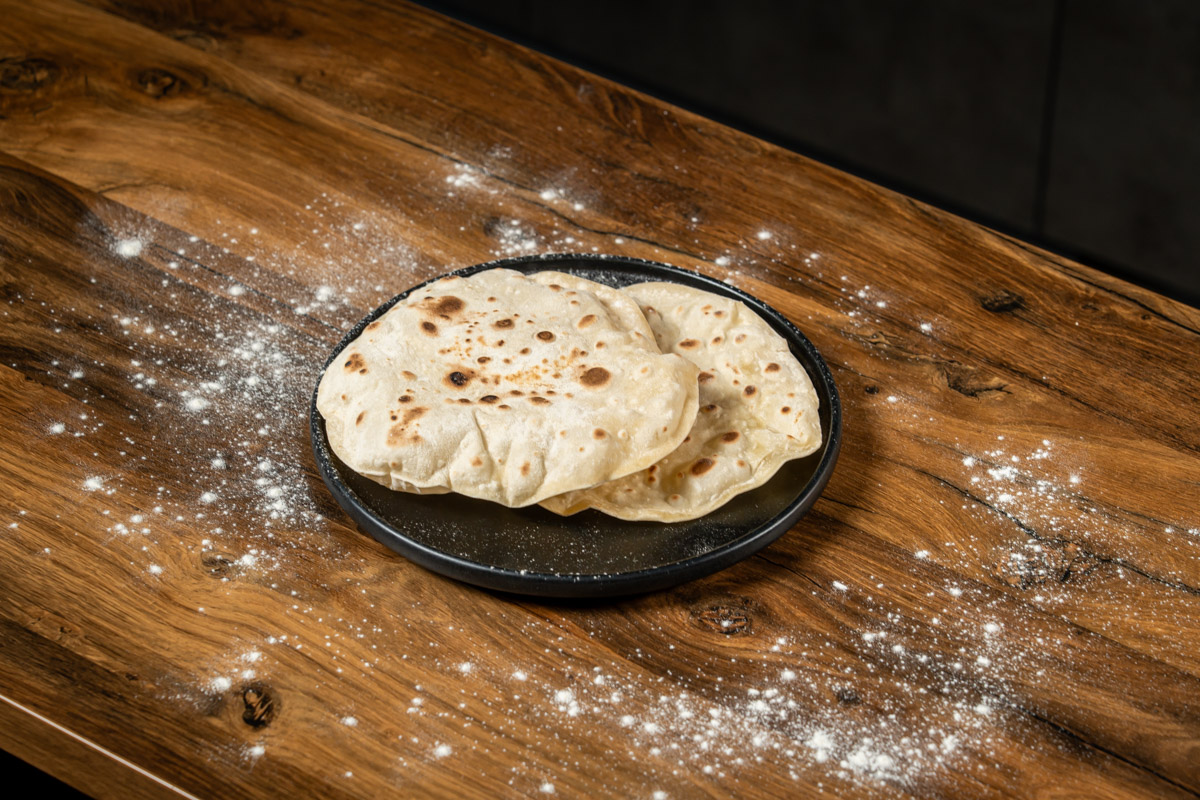
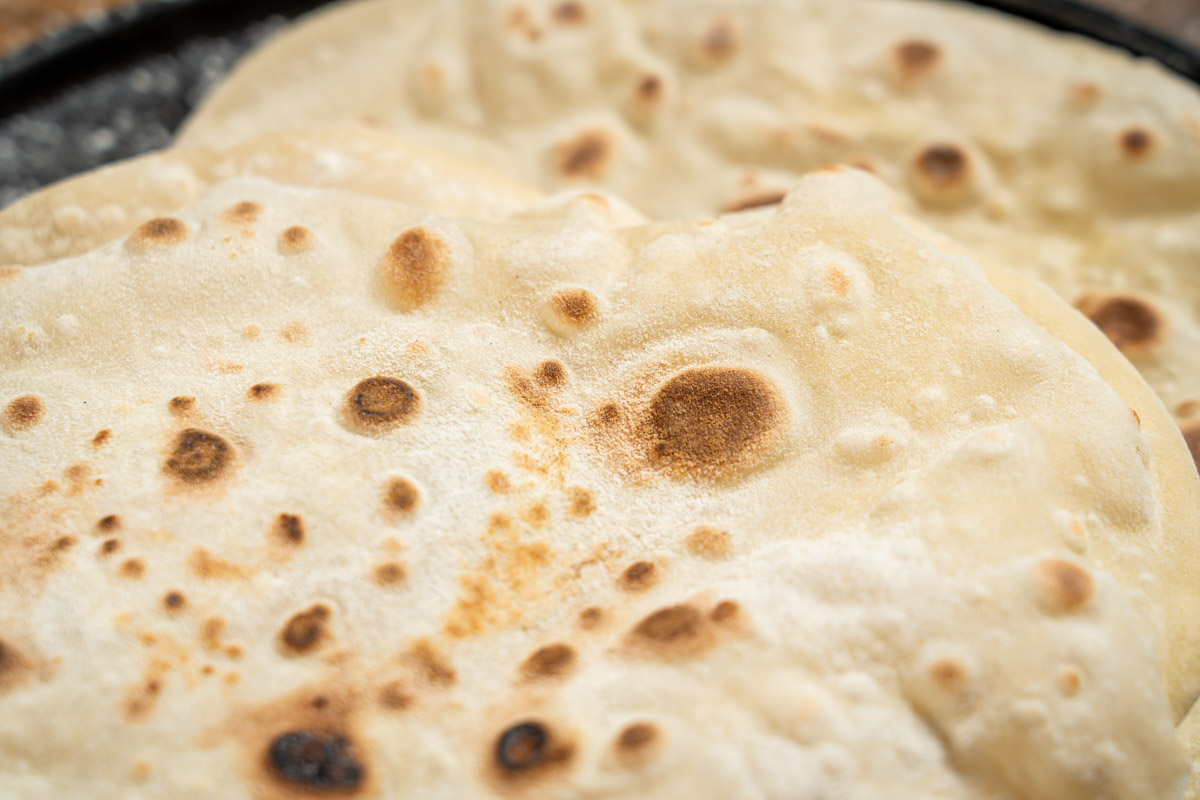
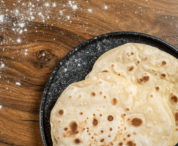
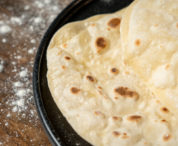
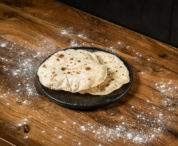
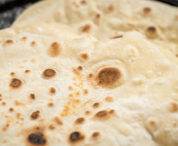
Homemade pita is soft, puffy, and tasty. Once you try it, you will never want to use store-bought. Plus, with this pita recipe, you can make it in just 35 minutes. You will bake two perfect pitas that you can use to make a perfect dinner or lunch. You can also freeze them and use them any time you need a fluffy and flavorful bread. Plus, this recipe requires a few ingredients that you may already have on hand! Let’s make the pita that is better than the one you buy in the supermarket together!
What is Pita?
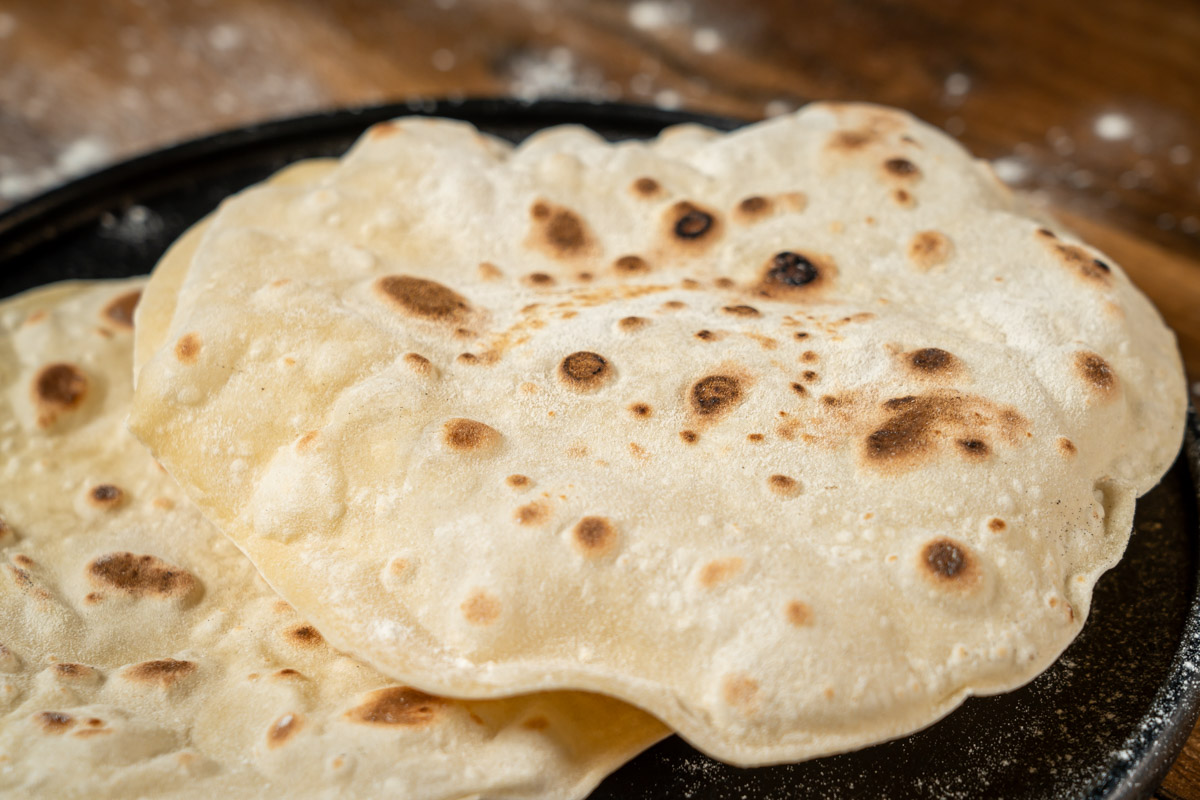
Pita is a type of soft, lightly leavened flat bread that is widely consumed in many parts of the Middle East, the Mediterranean region, and neighboring countries. Known for its distinctive pocket formed when the dough puffs up during baking, pita can be split open and filled with a variety of ingredients, including meats, vegetables, and sauces. This makes it versatile for sandwiches and wraps. It can also be cut into slices and served as a dipper for hummus, baba ganoush, and other spreads.
Origin of Pita
The origins of pita bread are ancient, with evidence suggesting that a similar type of flatbread was eaten in the Middle East as early as 4,000 years ago. The word ‘pita’ itself comes from the Greek word ‘πίτα’, which means ‘flat bread’ or ‘cake’. Its exact origin is difficult to pinpoint. However, it has been a staple of the Middle Eastern and Mediterranean diet for thousands of years. The bread’s simplicity made it a ubiquitous food across cultures and regions, requiring only basic ingredients such as flour, water, and yeast. Today, pita is enjoyed around the world and celebrated for its versatility and ease of preparation.
What You Need to Make Pita at Home
- Wheat Flour: Wheat flour is the most important ingredient in pita bread, as it provides the structure and the body of the dough. It contains gluten, a protein that provides elasticity and chewiness.
- Salt: Salt improves the taste of the flatbread and helps control the fermentation process by modulating yeast activity. It also strengthens the gluten network, which improves the texture of the dough and makes it more pliable.
- Water: Water hydrates the flour and activates the yeast, which is the start of the fermentation process. It is essential for the development of gluten, which is responsible for the elasticity and strength of the dough.
- Sunflower oil for frying: Traditional pita bread is usually baked. However, sunflower oil can be used when frying the dough for a different texture and flavor. The oil helps to crisp up the outside of the pita while keeping the inside soft and tender.
How to Make Pita Bread: Step-by-Step Recipe
- First, heat water to 158 degrees F (70 degrees C).
- Then, add salt and stir.
- Pour the water into the bowl with the flour and mix.
- Then, put the dough on the table and knead it well (it should become homogeneous and elastic).
- Wrap the dough in cling film and let it rest for 20 minutes.
- When the dough has rested, divide it into 4 equal parts. Form into balls.
- Using a rolling pin, roll out each piece to a diameter of 15 cm, constantly adding flour.
- Then, heat a frying pan and grease it with oil using a napkin.
- Put the pita on the pan and wait for a minute, it should start to bubble.
- Flip it to the other side, the pita should puff up. Fry for another 10-15 seconds.
Chef Recipe Tips:
- Before rolling the pita with a rolling pin, form a circle of dough with your hands and then use a rolling pin.
- It is very important that the dough does not crack or tear during rolling, otherwise the pita will not work.
- It is ideal to fill the pita with filling: fish, meat, seafood, etc.
Is Making Homemade Pita Bread Worth It?
Yes! As someone who grew up eating authentic fresh flatbread from Egyptian bakeries, I can tell you that the flatbread we buy in groceries here in the US is simply not the same. Store-bought pita bread usually sits on the shelf for a few days, just like store-bought sandwich bread.
Don’t get me wrong, I have bought pita bread at the grocery store on many occasions. It needs to be heated up and used pretty quickly.
Why won’t my pita puff?
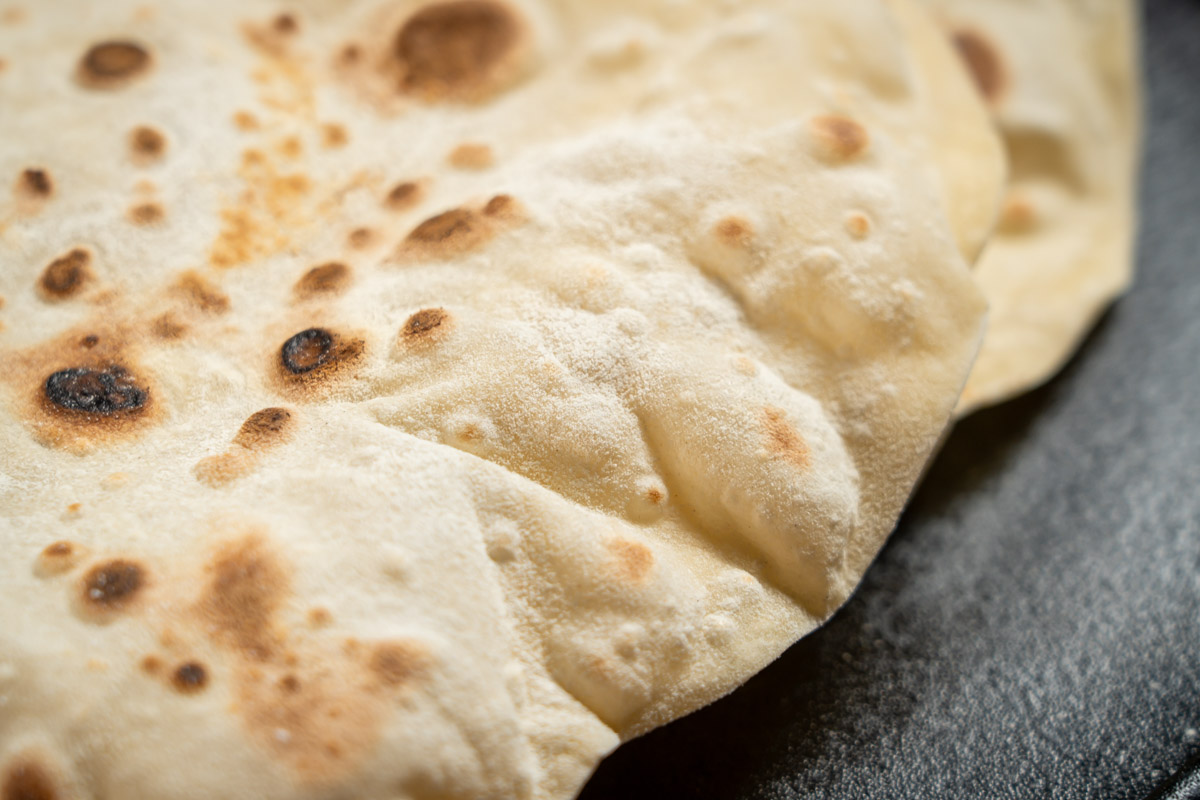
Once the pita has been out of the oven for a while, it does not stay puffy. We want it to puff up during the baking process so that it will form a pocket that will hold all sorts of tasty things inside. But let’s just agree that even a pita that doesn’t puff up and ends up looking more like a flat bread without a pocket is still delicious.
Storage and freezing instructions

Baked pita bread is at its best when it is fresh and hot out of the oven. But you probably won’t eat 8 loaves in one sitting unless you’re hosting a big dinner party. The good news is that pita bread can be stored in an airtight bag for a few days. You can reheat it in the oven, in the toaster oven, or even over an open flame.
You can even freeze flatbread for later use! Here is what you need to do:
- Allow the pita bread to cool completely.
- Store it in a zip-top bag. Be sure to squeeze out all the air. Place wax paper between the pitas so you can easily pull out one pita at a time if you like.
- Freeze for up to 3 months
- Heat frozen flatbreads in a moderately heated oven. No need to thaw.
Ways to use pita bread!
Sandwiches and wraps.
- Cut the pita in half and open the pocket to stuff your sandwich with your choice of meat, cheese, vegetables, and sauces.
Dips and Spreads
- Use wedges of pita to scoop up hummus, baba ganoush, tzatziki, or any other type of dip. You can also cut the pita into triangles and toast them for an extra crunch.
- Serve pita with soups and stews. It can be used for dipping and absorbing broths and sauces.
Pita Pizza
- Use pita bread as a quick and easy base for a pizza. Bake until cheese is melted and bubbly, then top with sauce, cheese, and your favorite toppings.
Breakfast and Snacks
- For a hearty breakfast, fill pita pockets with scrambled eggs, cheese, and vegetables or bacon.
- Toast slices of pita and sprinkle them with cinnamon and sugar or spread them with nut butter for a sweet snack.
Heat water to 158 degrees F (70 degrees C).
Add salt and stir.
Pour the water into the bowl with the flour and mix.
Put the dough on the table and knead it well (it should become homogeneous and elastic).
Wrap the dough in cling film and let it rest for 20 minutes.
After the dough has rested, divide it into 4 equal parts. Form into balls.
Using a rolling pin, roll out each piece to a diameter of 15 cm, constantly adding flour.
Heat a frying pan and grease it with oil using a napkin.
Put the pita on the pan and wait for a minute, it should start to bubble.
Flip it to the other side, the pita should puff up. Fry for another 10-15 seconds.
* Percent Daily Values are based on a 2,000 calorie diet. Your daily values may be higher or lower depending on your calorie needs.
** Nutrient information is not available for all ingredients. Amount is based on available nutrient data.
(-) Information is not currently available for this nutrient. If you are following a medically restrictive diet, please consult your doctor or registered dietitian before preparing this recipe for personal consumption.
Powered by the ESHA Research Database © 2018, ESHA Research, Inc. All Rights Reserved
